I figured I’d make less of a review and more of a guide this time around, MS-DOS is really only necessary to use when you are installing Windows on top, or if you need to use a boot disk.
This guide is very image heavy, so click below to open it, it may not be dialup friendly.
We’ll start off with VMWare 6.5 running, the version I’m running for the initial setup is a beta version of 6.5 and as such has the exp numbering listed, however it is virtually the same.
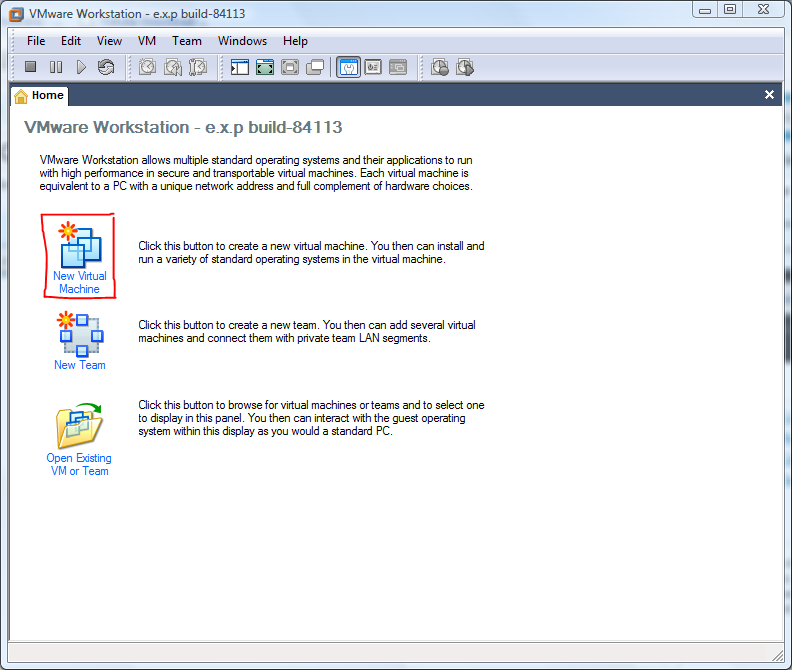
Click on ‘New Virtual Machine’ as highlighted above and a new window should appear.
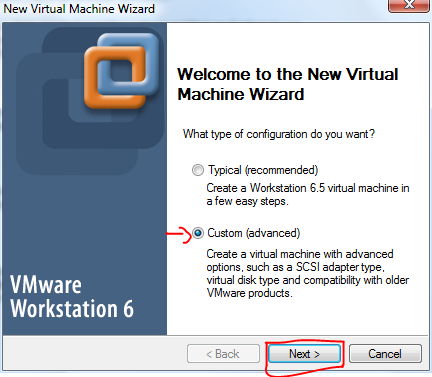
We want to be in control of the options here, so choose ‘Custom (Advanced)’, then click next.
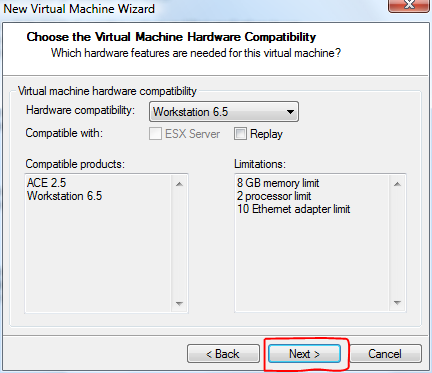
Here you will be asked for the compatability options, we don’t have to worry about those, so just click next.
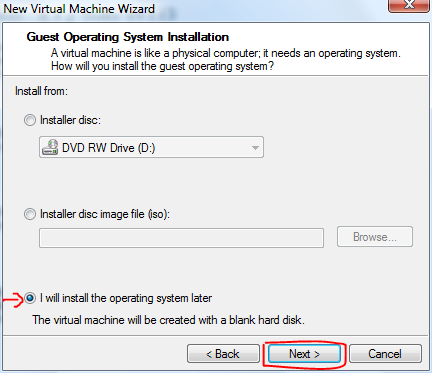
As we will most likely be installing from either floppy disk images, a floppy drive or a CD drive, for the time being we will choose ‘I will install the Operating System later’ and click next.
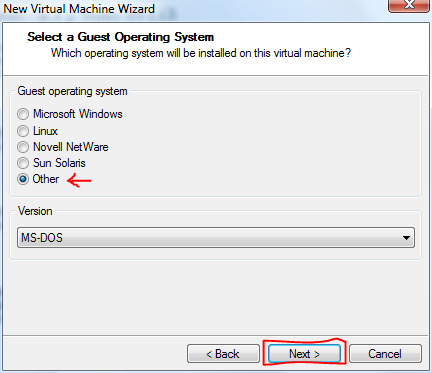
Here we will select the type or Operating System, this is used by VMWare to determine the initial specs of the Virtual PC we will be using, choose ‘Other’, then MS-DOS should automatically get selected from the drop-down box, if it does not, select it and click the next button.
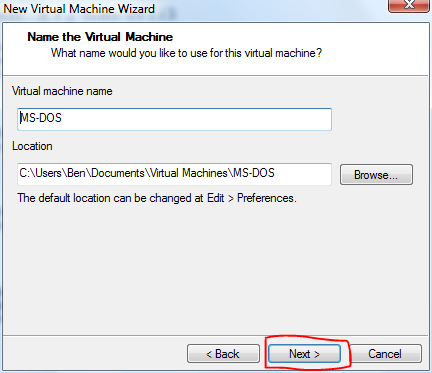
You most likely won’t have to change the virtual machine name or the folder location, if you do, change them, then click the next button.
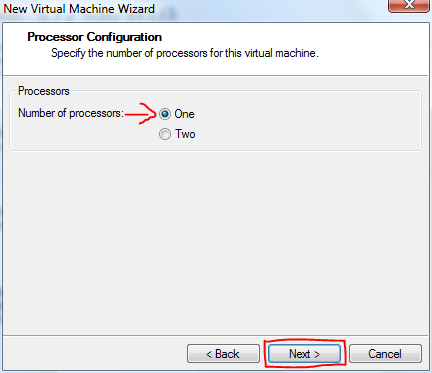
As this is MS-DOS 6 and it will only ever have Windows 3.1 on it if anything, there is no need for more than one processor and chances are it will cause problems, so select ‘One’ and then click next.
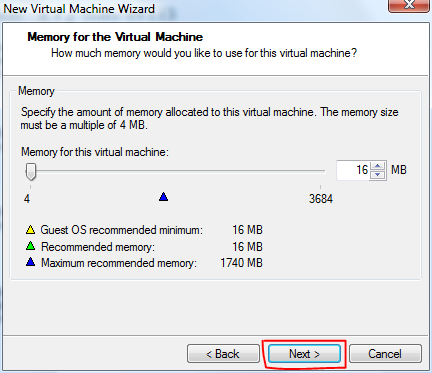
Here we will be choosing the amount of RAM available for our virtual machine, choose no less than 16MB and stick to less than 64MB, there’s no need for more and as above it can cause problems if you choose something out of line for 1995 and earlier PCs.
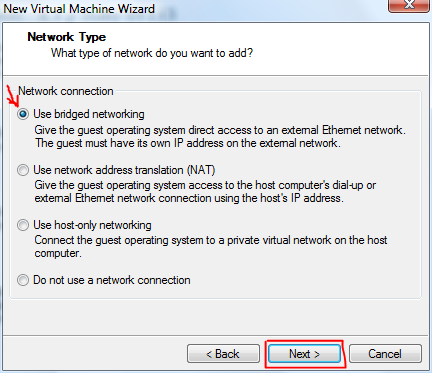
I prefer bridged networking, I’ve never had any problems with using it, however it’s your choice what you choose, when you have decided, click the next button.
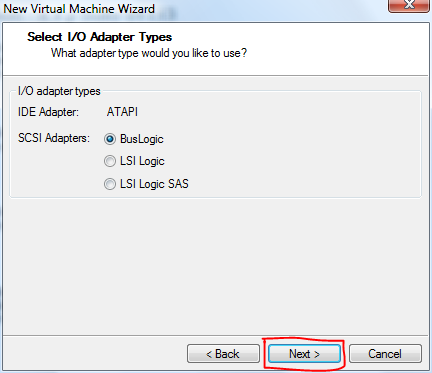
As we will need to work only with IDE in this case, just skip this by clicking the next button.
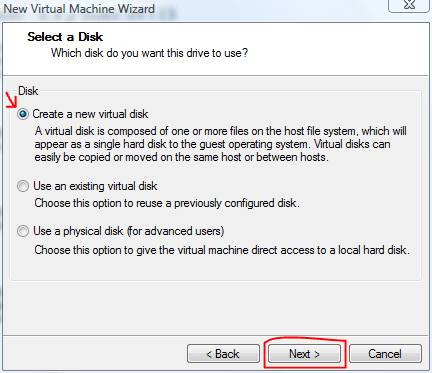
As this is MS-DOS there’s not much use installing it onto it’s own drive so choose ‘Create a new Virtual Disk’, then click next.
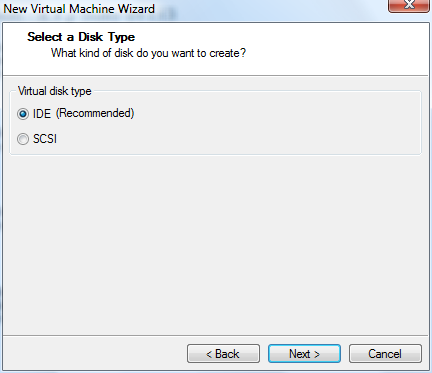
Make sure you choose IDE, not SCSI, then click on next.
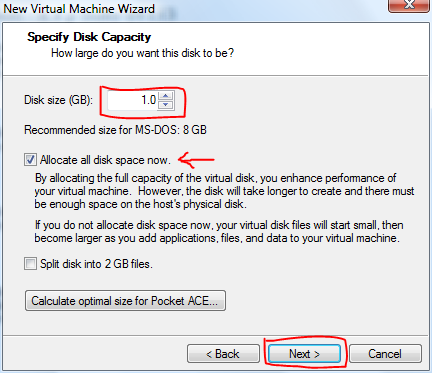
If this installation is going to be used for Windows 3.1 down the track, choose anything under 1GB, otherwise FAT32 will be needed and Windows 3.1 doesn’t like that, choose ‘Allocate all disk space now’ to make sure the disk is created fully when we finish the wizard, it’s only 1GB and won’t take long to create, then click the next button.
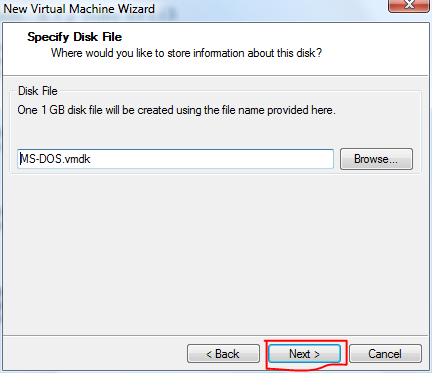
Here we will be choosing the filename of the virtual machine, we shouldn’t need to change this, when you’re done, click next.
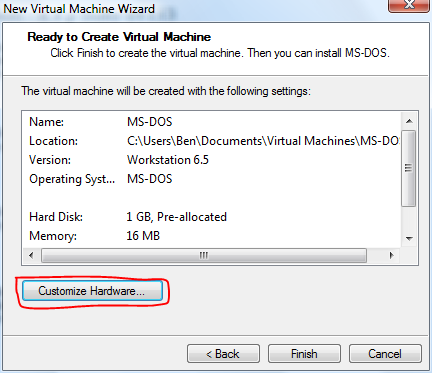
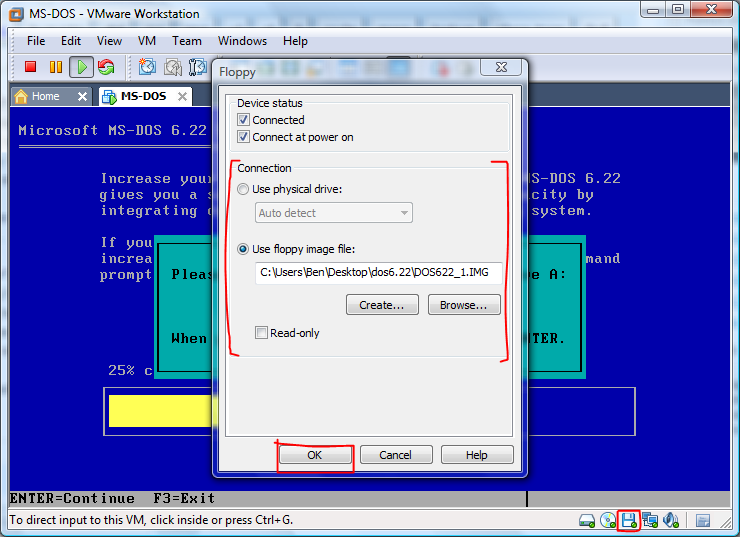
You should be at the wizard summary now, we’re not done though, as we will need to enable the floppy drive and choose the source, click on ‘Customize Hardware’.

A new window will open up, scroll down to ‘Floppy’ in the list and click on it, your screen should look like the image above, make sure ‘Connect at power on’ is ticked and choose the source your floppy drive will use, VMWare takes .IMG files as I have used, or .IMA files, you just have to rename them to .IMG to show up in the file select dialog, then we are done here, click on OK, you will be back at the wizard summary screen again, click on the Finish button.
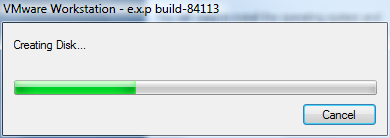
You will be shown a progress bar of the Disk creation, wait for it to finish and you will be brought to another simple window.
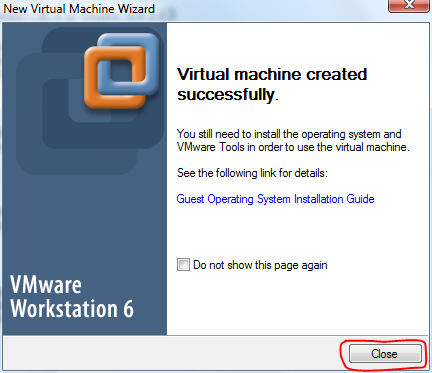
This window explains that the virtual machine is not installed yet, we will do that in a moment, click on the close button.
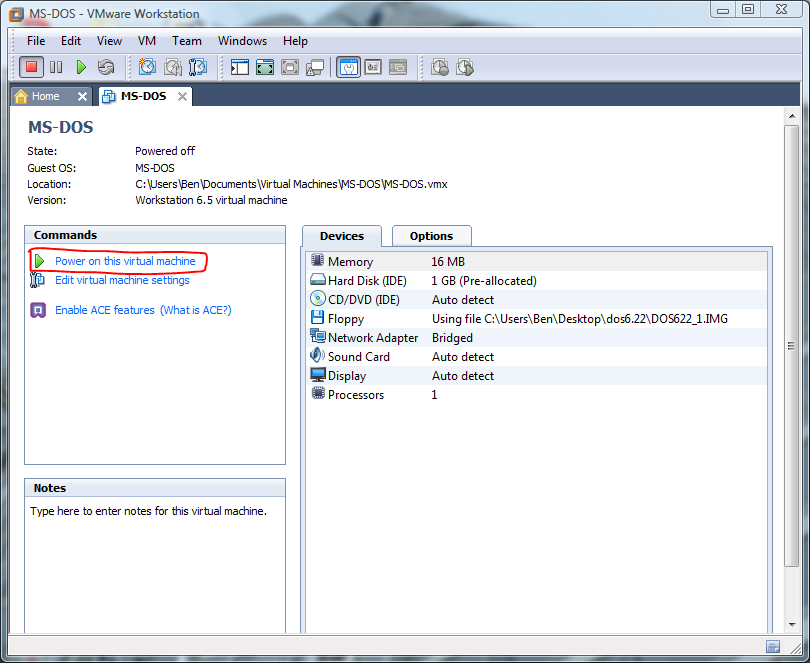
The virtual machine should now be set out correctly and should look something like the above, I have just upgraded my installation so that I can run the virtual machine, we can now turn the machine on, click ‘Power on this virtual machine’.
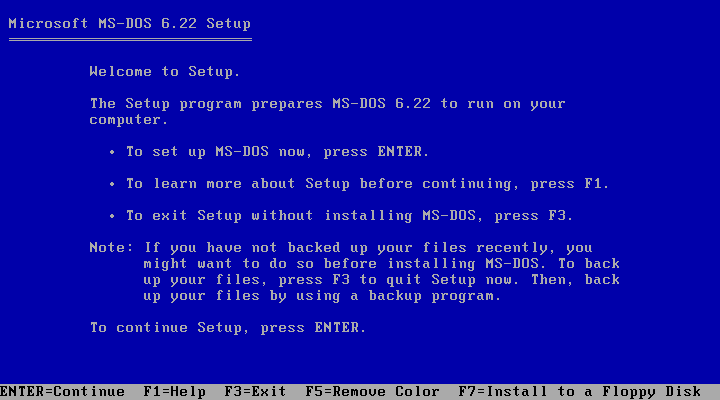
The setup wizard should automatically load once the VMWare BIOS screen disappears, from here, just press enter.
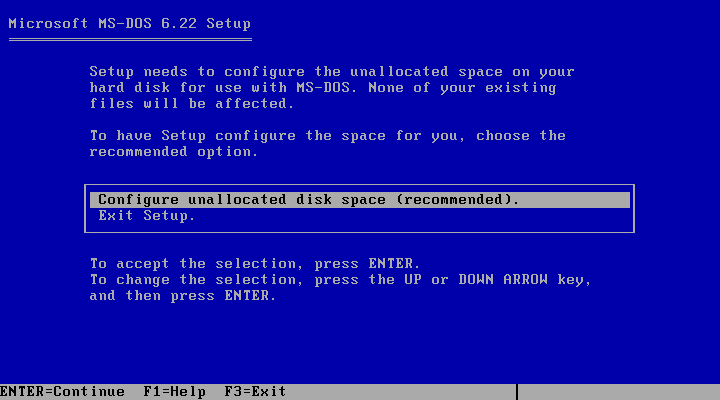
The next screen should warn that the Hard Drive space is unallocated, choose the option highlighted in the screen above and press enter.
This will require a reboot, just press enter, the setup disk will still be available when we restart.
Upon restart the Hard Drive will be formatted fairly quickly.
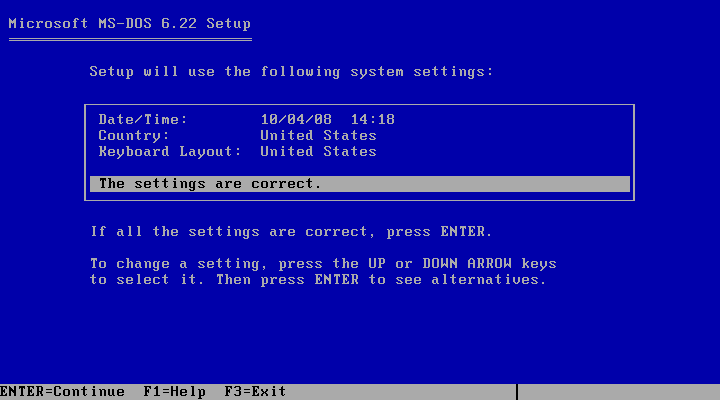
The regional settings step will appear, choose your settings, if you’re Australian etc, just choose United States or International English, countries other than Canada and the U.S. weren’t invented when DOS 6 came out, press enter when done.
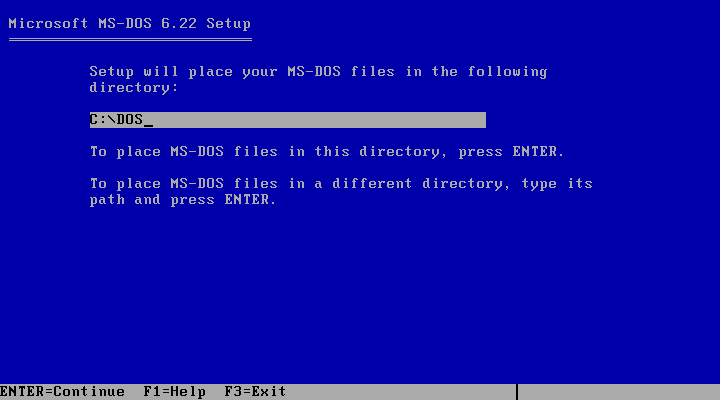
You will then come across the install folder option, it’s best to leave it at the default of C:DOS, then press enter.
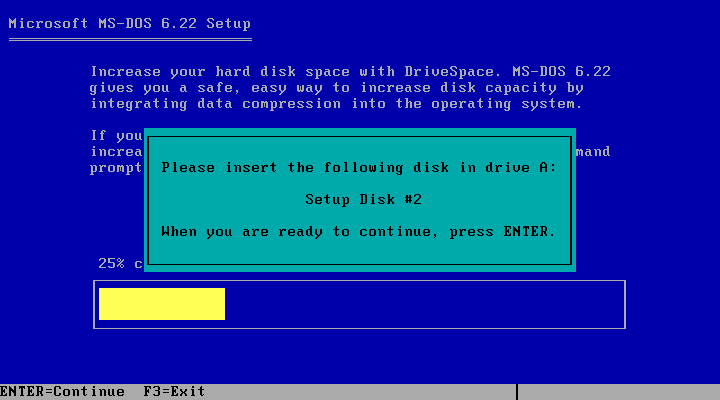
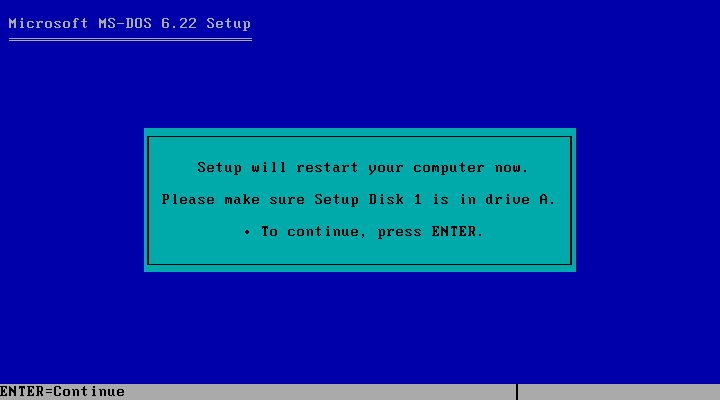
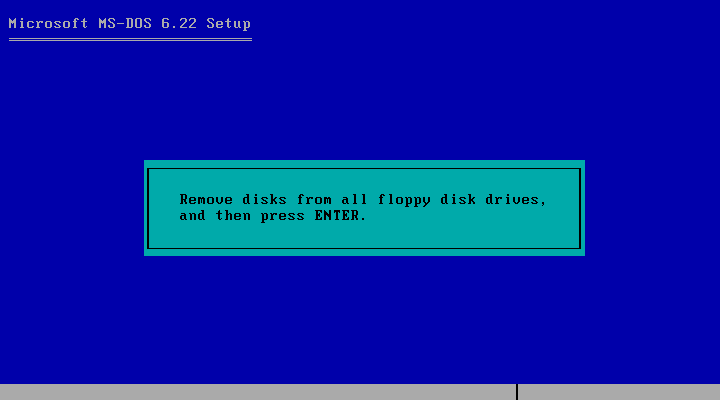
Now we need to change disks.
Release input from the virtual machine by pressing Alt and Ctrl at the same time, click the floppy drive icon highlighted, then click ‘Settings…’. Here change your disk by either the image name or simply change the disk in the physical drive on your PC, then click Close, click into the virtual machine again to capture control, then press enter, you will have to repeat this for disk 3 also.
Here we will be doing a similar thing to what we did previously, release input again, click the floppy icon, then click ‘Settings…’, uncheck ‘Connected’ and ‘Connect at power on’, then click OK, you will notice that the floppy icon is now grey, capture the Virtual Machine again and press enter.
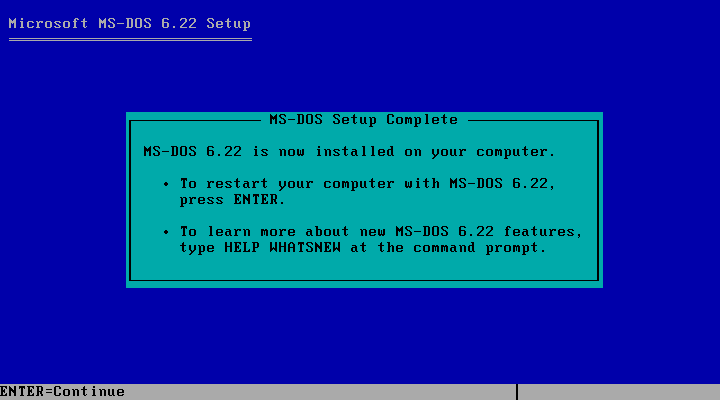
Setup will now be complete, press enter.

After the restart MS-DOS 6 will start, we are done here, you can move onto installing Windows 3.1 if you wish, MSCDEX etc is not installed yet, so you will have to google for help with installing that if you wish to use an optical disc drive.
If you have any further questions, comment below.
Also I forgot to add, Tony’s VMWare Site is a good resource once you get MS-DOS installed, installing the DOSIDLE program is very important.
Now that’s a guide man,thanks dude.
oh i forgot, one more question, where can i get the dos6 img file?
Well MS-DOS is still under copyright laws so legally you can get a copy off eBay for less than $5 usually, then make your own images with a program like Winimage. But if you’re looking at getting it illegally you’re on your own there. Let me know if any part of the guide is hard to follow and i’ll make some changes to it.
Well,the whole guide is quite good enough for acomplish the task, images really play an important role in this case,thanks for having that in mind….
Sorry i don’t wanna bother you but i’ve got another question:
Is it a safe way to be connected to the internet trough a virtual machine? you know for keeping the host-PC away from viruses and stuff like that..?
Thnks in advance,…
Well there’s a few ways to set up networking, NAT protects the virtual PC in a way, whereas bridging gives it as much access to the outside world as your host PC. If the virtual PC gets a virus and the virus sends out on the local network to spread, it may infect the host PC like any other PC on your local network could. However there is no higher risk by default to running a virtual PC. You just have to keep in mind old Operating Systems don’t have new security measures, so keep your antivirus and firewall software running and you should be fine.